Importing the Soils Data
1. Start
a new drawing.2. Create a new Soils layer and Soils Label layer. I’m using layer names for this exercise. C-SOIL-E and C-SOIL-IDEN-E.
3. Change the drawing Coordinate System to the project location.
4. Importing the Shape file (*.shp) data.
a. Type MAPIMPORT at the command line.
b. Change the file type to ESRI Shape file (*.shp).
c. Select the soilmu_a_aoi.shp file.
5. Change the following settings in the Import Dialog box.
a. Set the Drawing Layer..
b. Check “Import polygons as closed polylines”.
c. Add a data field by clicking in the data cell and the box on the right.
d. In the Attribute Data dialog box, click the “Create object data” radio button.
e. Click Ok to get back to the Import Dialog box.
f. Click Ok again to import the data.
g. Zoom extent to view the imported line work.
h. Save the file. I’m saving the file to C:\temp for easy access of the labeling steps. I named the file USDA Soils.dwg.
i. Close the file.
Add the Soils Labels
1. Start
a new drawing.2. Create a new Soils layer and Soils Label layer. I’m using NCS layer names for this exercise. C-SOIL-E and C-SOIL-IDEN-E.
3. Change the drawing Coordinate System to the project location.
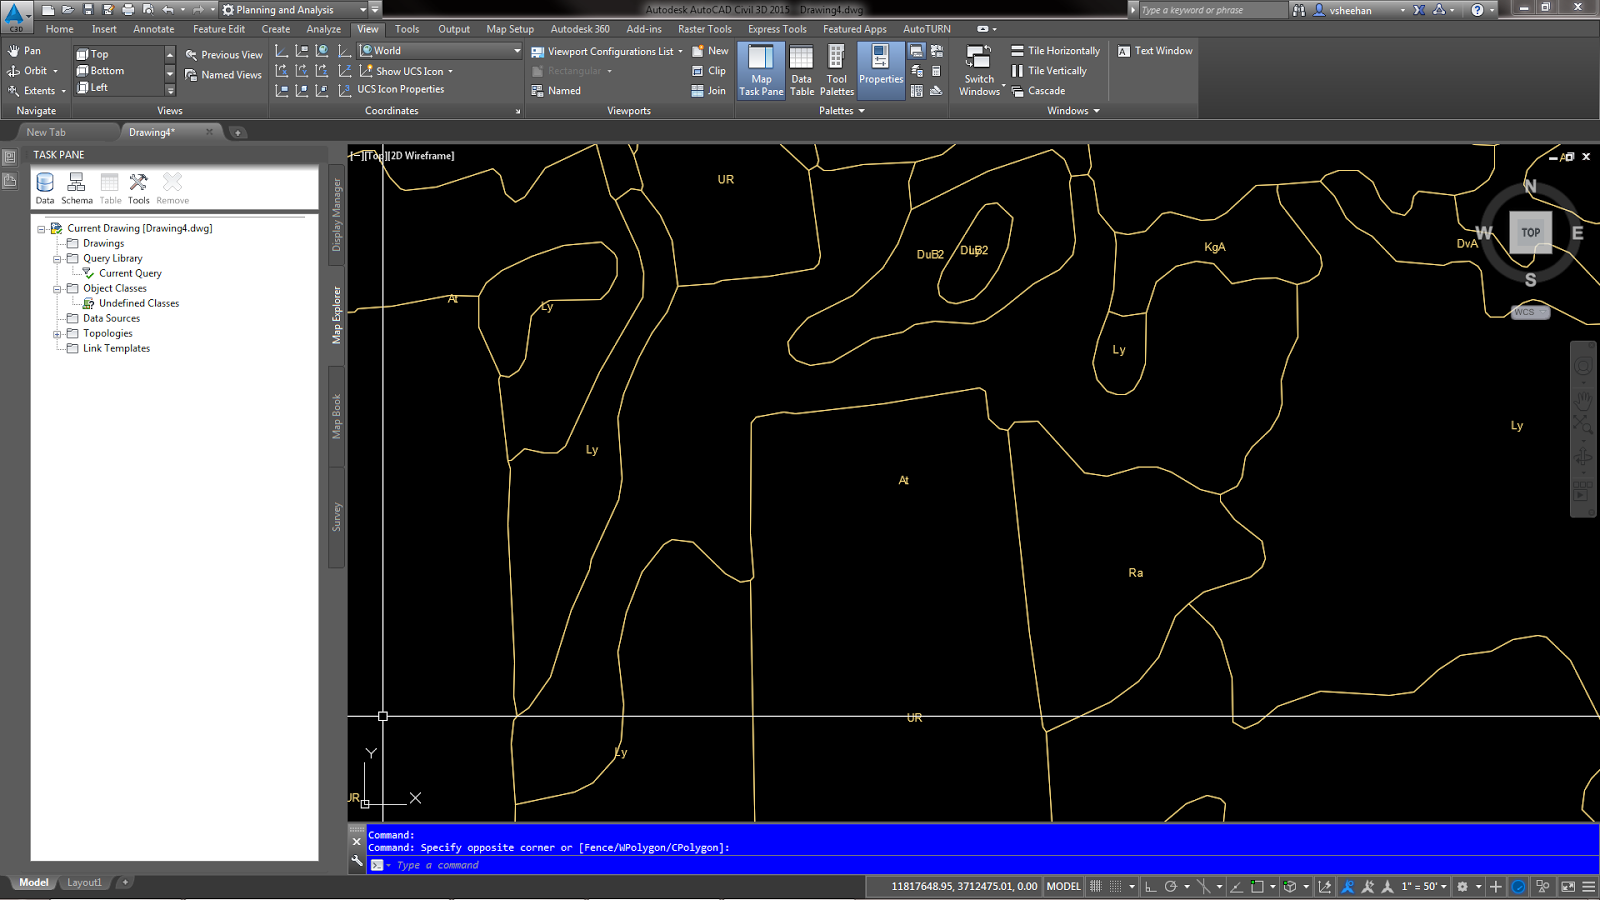
4. Change the Civil 3D workspace to “Planning and Analysis”.
5. Open the “Map Task Pane” from the View tab on the Ribbon.
6. Click the “Map Explorer” tab on the Map Task Pane.
7. Attach the USDA Soils.dwg drawing saved from the Importing the Soils Data steps by right clicking on the “Drawings” folder on the Map Task Pane.
8. Click Attach.
9. The file is located in C:\temp.
10. Click USDA Soils.dwg and then click Add.
11. Click OK.
Now the file is attached to the current drawing. We have to execute a query to import the soils and labels.
Importing the Soil Polylines
1. Right
click “Current Query” on the Map Task Pane.2. Click Define.
3. Click the Location button.
4. Click the “All” radio button then click Ok.
5. Click the “Draw” radio button under Query Mode.
6. Check the box under Options and click the Alter Properties button.
7. Click the Layer radio button.
8. Click the “Values…” button and select the C-SOIL-E layer.
9. Click Ok.
10. Click the “Add” button.
Importing the Soil Labels
1. Click
the “Text” button.2. In the Define Text Dialog box, click the “Expression” button.
3. Expand the Object Data folder then click MUSYM data field.
4. Click Ok.
5. Set the text style, text height and layer.
6. Click Ok.
7. Click Ok to close the Set Property Alterations.
8. Click the Execute Query button.
9. Zoom extent to view the imported line work and labels.
10. In Map Explorer, right click on the attached c:\Temp\USDA Soils.dwg.
11. Click Detach.
12. Save drawing.
13. The labels may have to be moved for better presentation.
Let me know if you have any questions.


