Modeling scene and game assets in AutoCAD is very simple. Take My Autodesk University course 3D Modeling with the Best: AutoCAD to learn the basics of 3D modeling in AutoCAD.
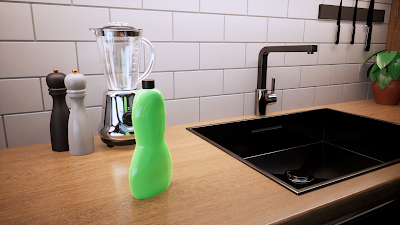
In this quick tutorial, you will draw a 3D bottle as show below using a series of circles and ellipses.
1.
Set the Workspace to 3D Modeling.
2.
Create layers Bottle, Bottle-Cap and Guidelines.
3.
Set System Variable DELOBJ to 0. This will
retain the guideline objects when creating 3D objects.
4.
Set the Guidelines layer current.
5.
Turn on Ortho (F8).
6.
Draw an Ellipse with a Center axis endpoint at
0,0,0.
7.
Type a distance of 1 in the X Plane.
8.
Type a distance of 0.5 in the Y Plane.
9.
Change the UCS Z-Axis Vector along the Y Axis
direction.
10.
Set the View to Front.
11. Draw a centerline polyline (shown in red) from
the center of the ellipse with a length of 6.25.
12.
Draw a reference polyline (shown in blue) using
Arcs to set the outer shape of the bottle.
13.
Draw a series of polylines snapping to the
endpoints and midpoints of the arcs drawn in step 8 perpendicular to the
centerline polyline.
14.
Set the view to SW Isometric.
15.
Copy the ellipse from the center point to the
endpoint of each line drawn in step 9.
16.
Copy the bottom ellipse upwards a distance of 0.05 and
another at a distance of 0.01.
17.
Adjust the Major and Minor Radius of the two
newly created ellipse to be smaller than the original ellipse.
18.
Change the UCS to World.
19.
Draw a circle just above the top ellipse.
20.
Copy the newly created circle upwards along the
Z-Axis with a distance of 0.4.
21.
Click the Surface tab on the ribbon.
22.
Set the Bottle layer current.
23.
Click Loft.
24.
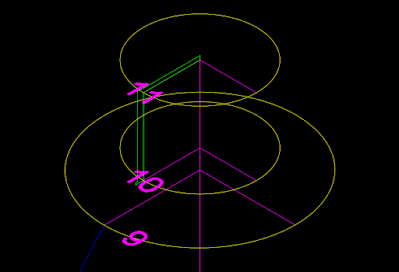
Select the ellipses in order #1 through #10.
25.
Click Loft.
26.
Select circles in order #10 through #11.
27.
Change the UCS Z-Axis Vector along the Y Axis
direction.
28.
Draw a half section of the cap (shown above in green)
with a closed polyline.
29.
Revolve the cap half section around the
centerline of the bottle 360 degrees.


No comments:
Post a Comment